Strike-Zone How-To: Wahoo Rigging
In this video, Archie Gandionco, Strike-Zone Fishing Guide, explains how to properly line up your reel for Wahoo fishing. This includes how to wind line on the reel and how to mark the line with the traditional way of using rigging floss, how to seamlessly splice hollow core braided lines, tie two different loop connections called the Bimini Twist and the Hollow Core Splice Loop, attaching a snap swivel and why it is important to label your reels.
Key Topics include:
- Winding line on the reel
- Marking line with rigging floss
- Seamlessly splicing hollow core braided lines
- Two types of loop connections for attaching a snap swivel
- Hollow Core
- Bimini Twist
- Attaching a snap swivel with an offshore loop (Cat’s Paw)
- Labeling your reels
Video Overview:
Winding line on the reel & Marking line with rigging floss:
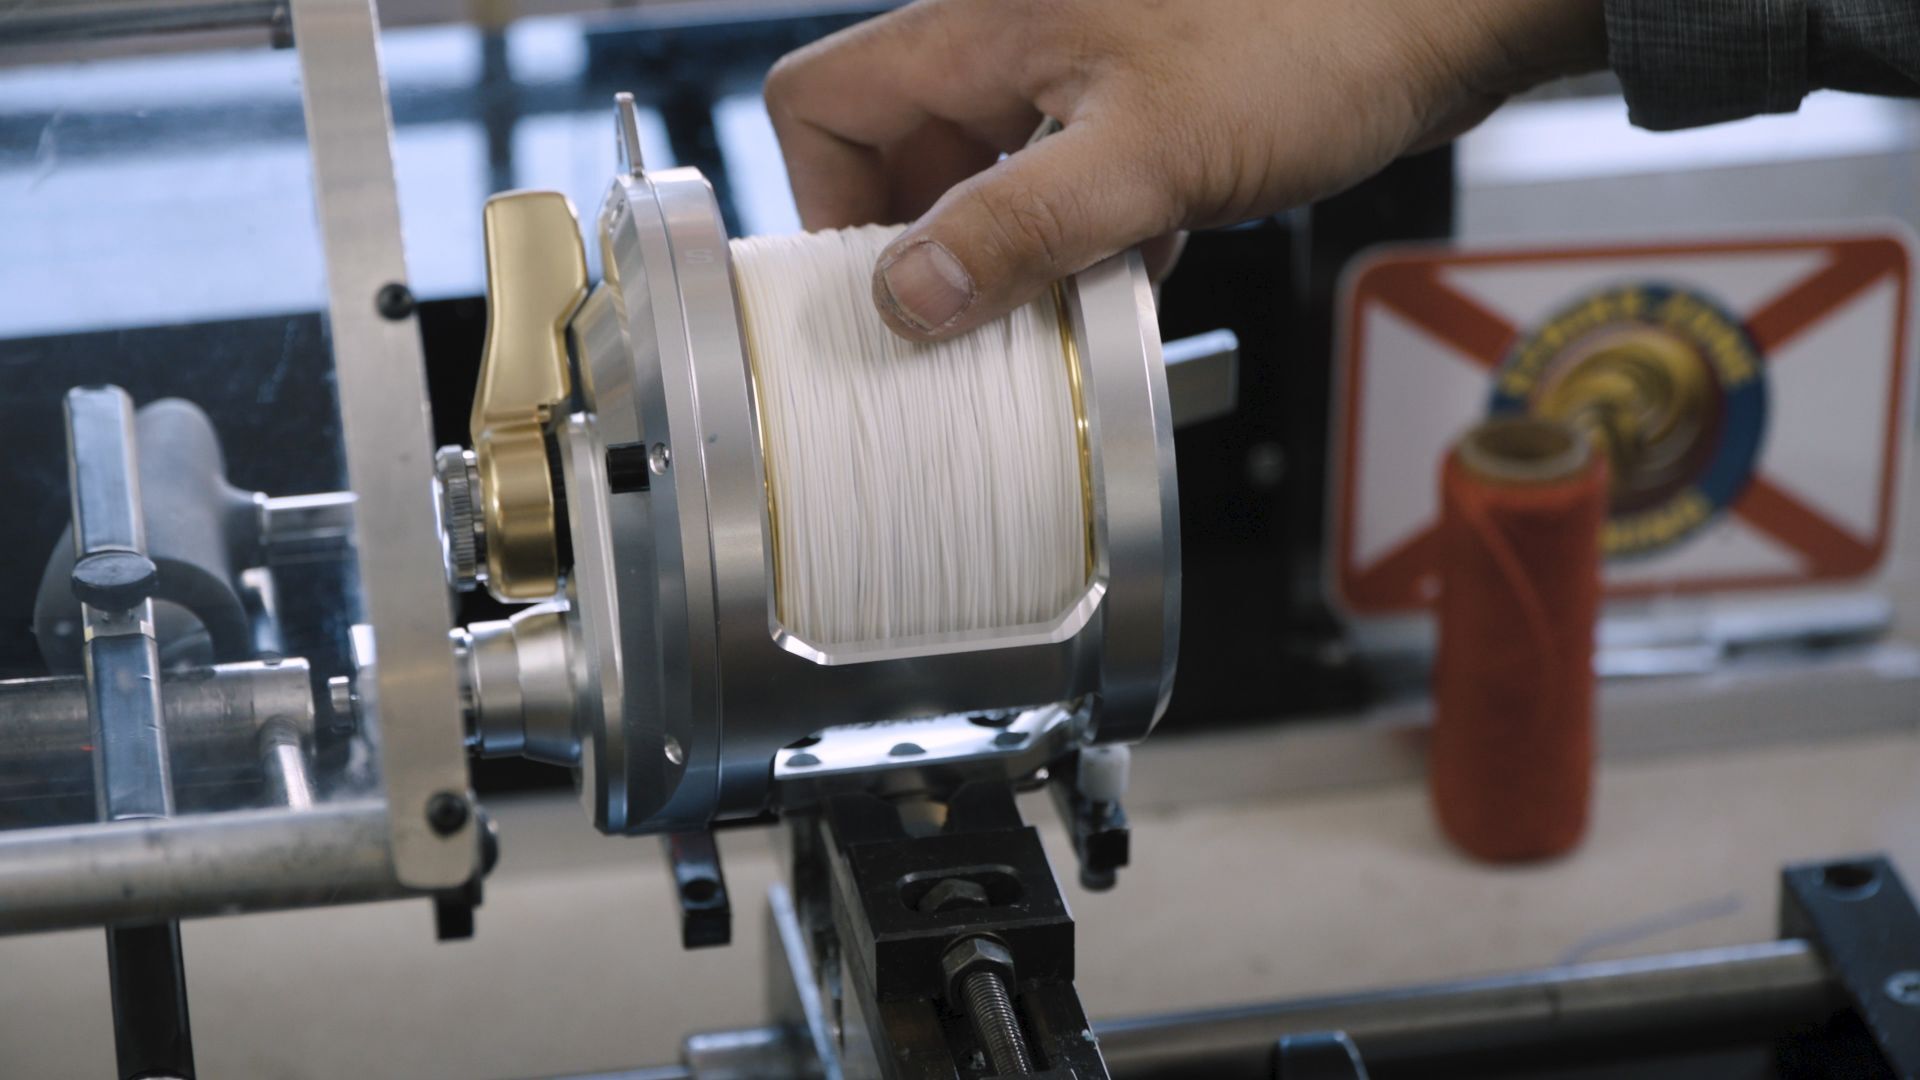
A question we often receive is ‘how do you mark your reels to properly stagger out your lines?’ When spooling line on to the reel, Archie recommends, “you want to start with securing the line on to the reel with silicone tape.” The line winder being used is the omega gear line winder, which puts a tremendous amount of pressure, around 400 PSI (pounds per square inch), on the line to avoid line digging. The line winder is controlled by a pneumatic pressure pump. The demonstration is with the Talica 50 II speed from Shimano. The reel has over 60 pounds of drag and holds approximately 800 yards of 130 pound braided line. After applying the silicone tape, wrap the line around the spool a few times, and pull the tag end up. With the tag end tie a Uni-knot.

When the line is secured and cinched down, you may begin winding the line onto the reel, helping guide how the line is applied. Apply approximately 725 yards of line, stop, then put another 75 yards on to make the 225 foot marker. Once the line is applied, you will anchor it down, and grab your 70 pound rigging floss. Pull off about 4 feet of rigging floss and double it up, making sure to have the ends offset for ease of pulling apart later. Grab the center and loop it onto the line to serve as an anchor point.

Then, do a series of half hitches, pulling each of them tight, until the series of half hitches is approximately 4 inches long. Once you have the desired length for the marker, you can lock it into place. Complete a locking hitch, where you will go around the line 6 times, instead of once. Lay the tag end alongside the marker and take the loop and wrap the opposite direction.
Pull down on the tag end putting a good amount of pressure so you know the marker will not move. Pull apart the tag end and tie two overhand knots to ensure the marker will not come un-tied from passing through the rod tip repeatedly. This is a tried and true method for using rigging floss, though there is another way to mark your line using an additional section pre-cut to whatever length you want. You can splice the hollow core line, creating a seamlessly smooth transition between the lines.
Seamlessly Splicing Hollow Core Braided Lines:
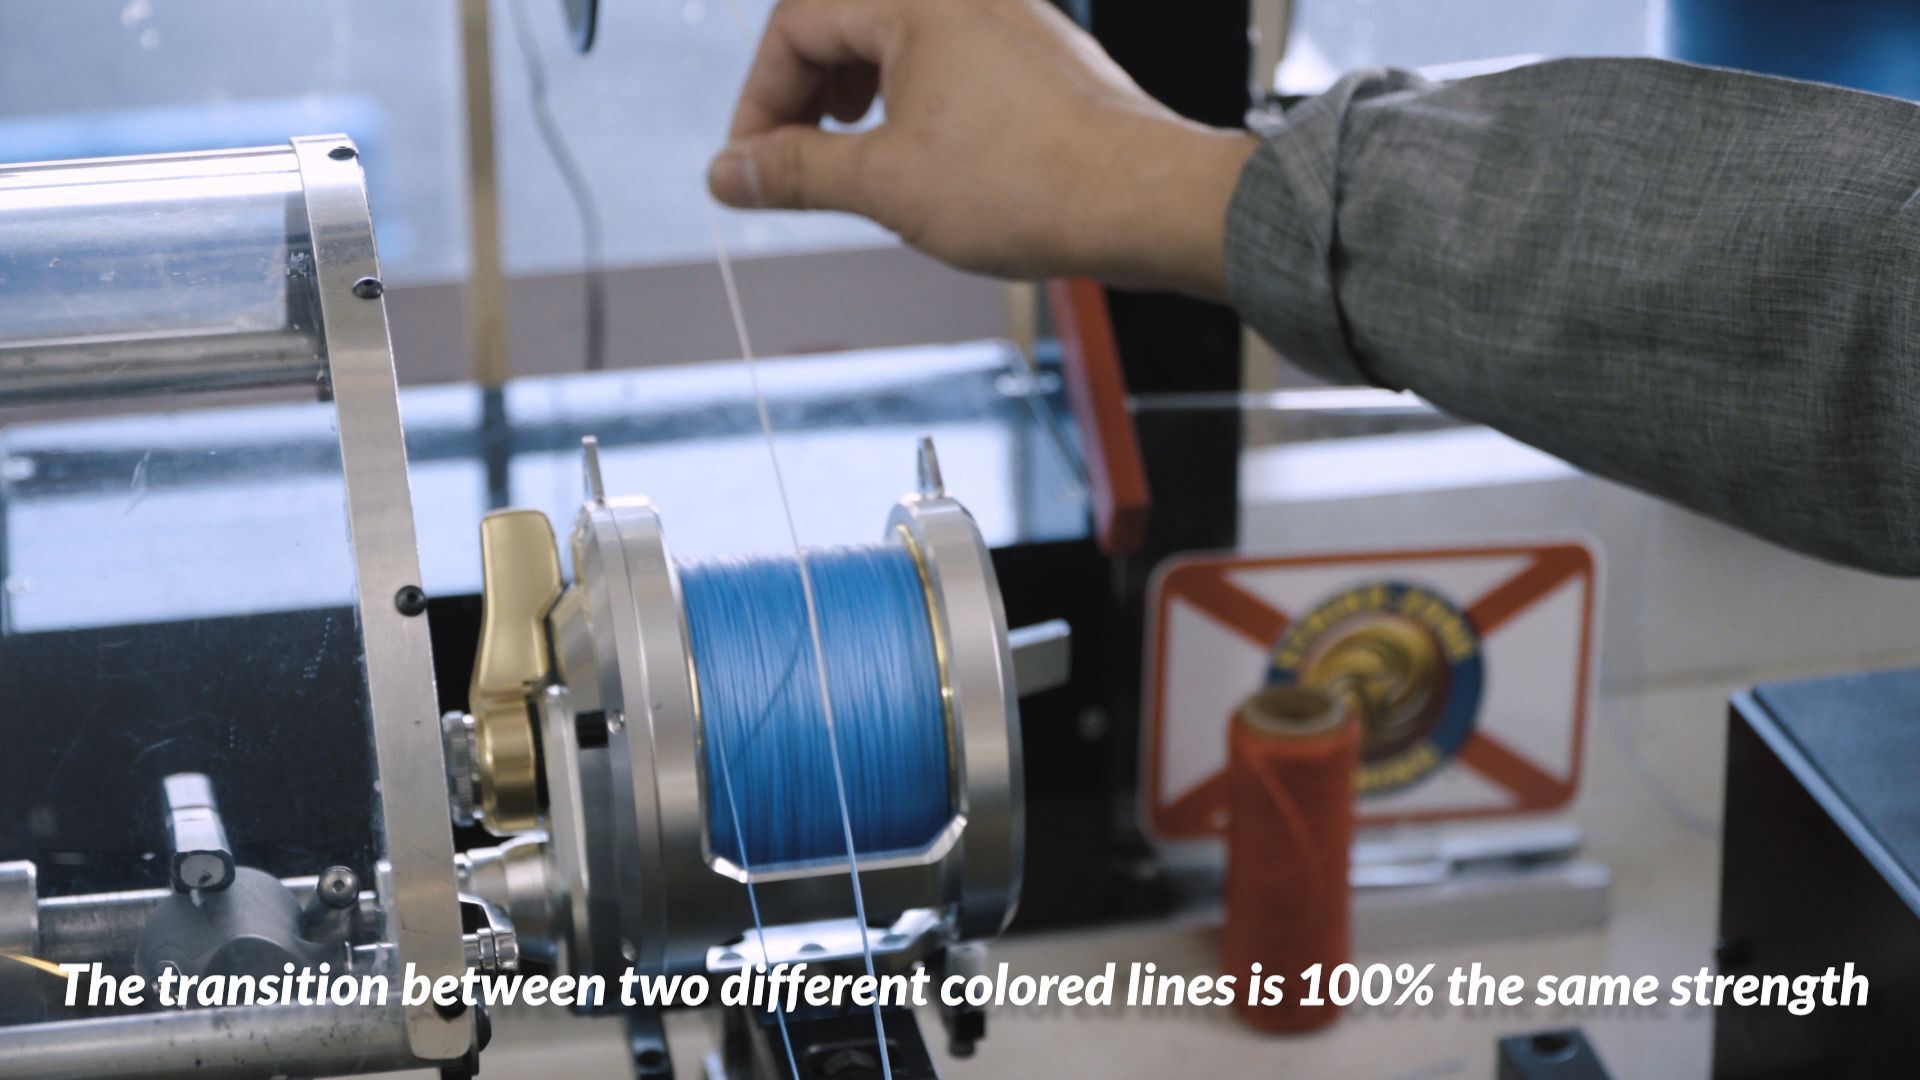
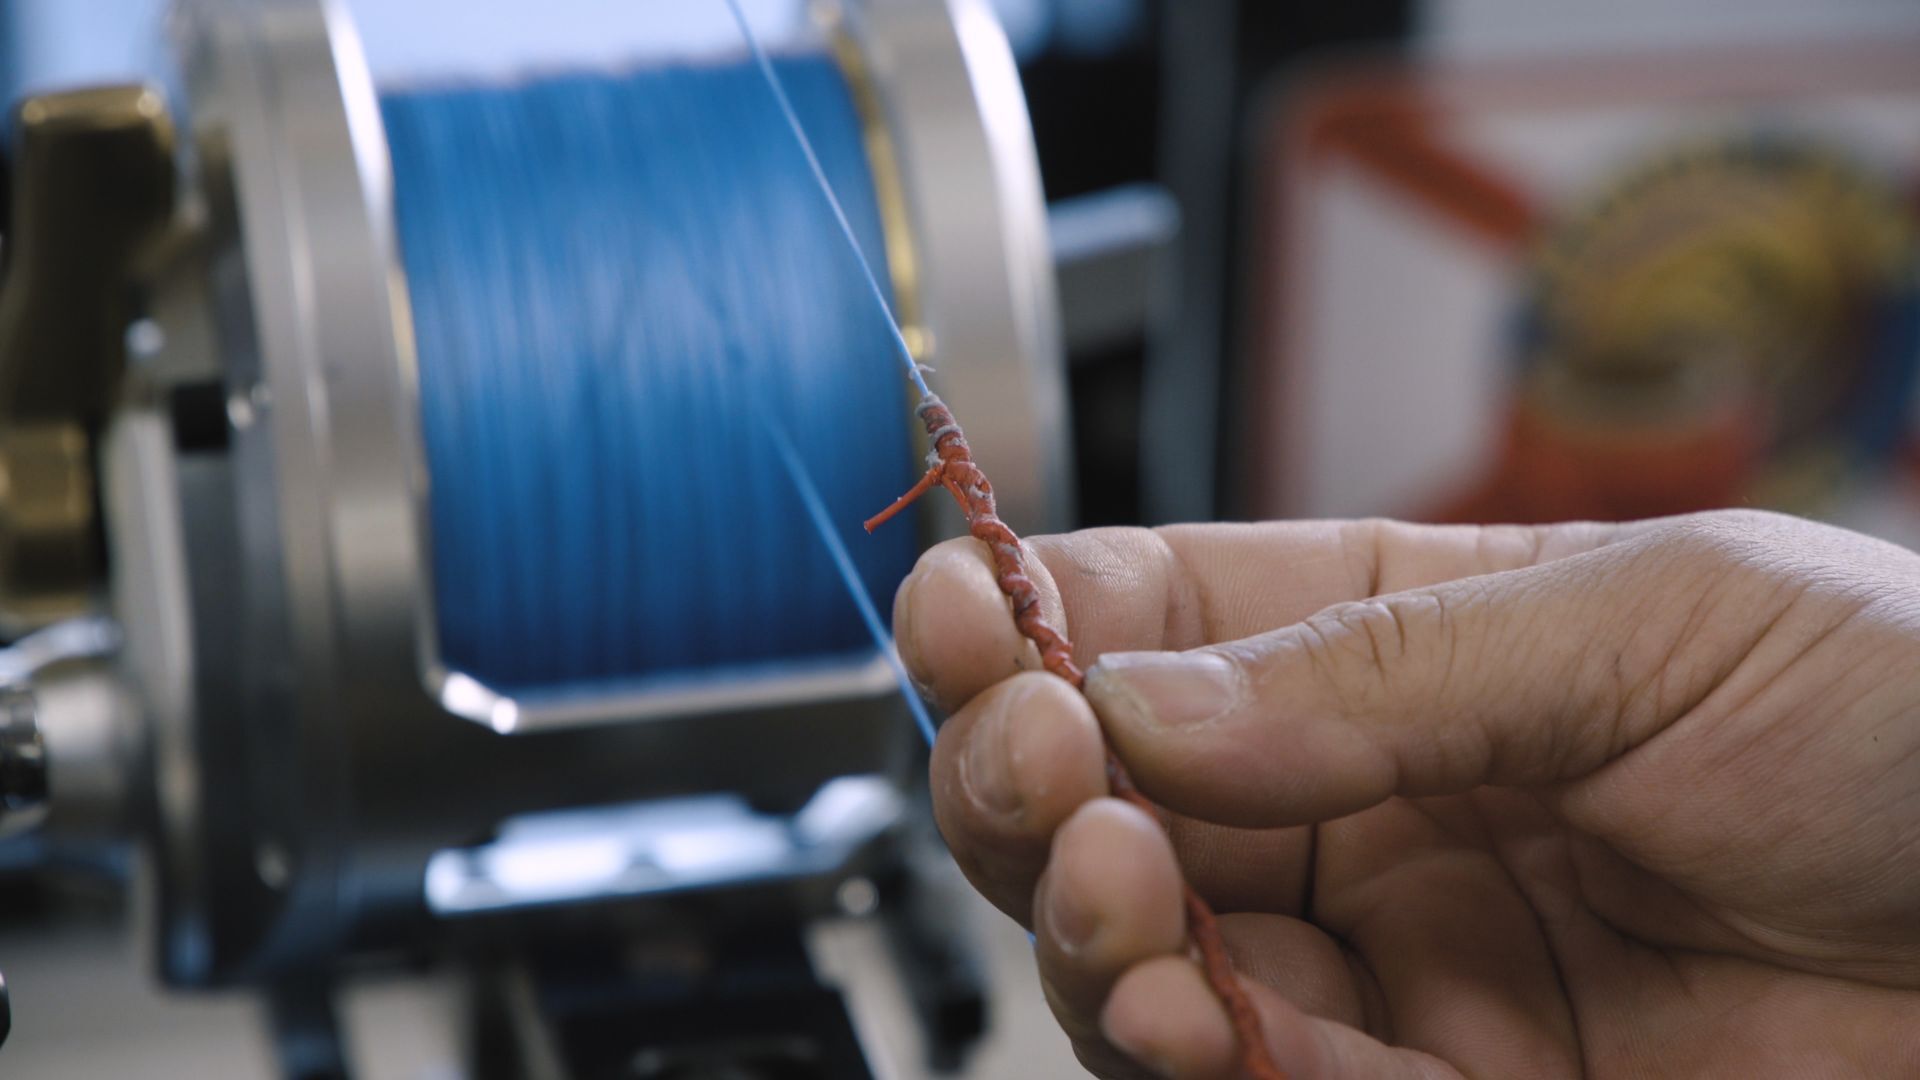
The second method for marking your line is by using different colored premeasured lines to serve as markers. Leave about 3 feet out, choke up another 3 feet, and begin to feed the line through this point. Use a #4 single-strand hardwire, the same thing you use when King Mackerel fishing for your leads, folded to insert and pull the line through the hollow core braid. Once about 3 feet is fed through the hollow core, and about 3 feet of the tag end is left, pop the wire out the side naturally, open the wire loop up and feed the white line (top-shot) through the wire loop and pull it back through the hollow core. There should be 3 feet fed on to the line.
With the original tag that was left out, you will feed inside of the white line (top-shot), so they interlock and overlap, and pull the tag end through the top-shot. Pull on both tag ends to ensure they are all the way through and smoothed out by bunching the excess together, making sure there is no slack between the two. The transition between the two different colored lines has 100% the same strength connection. After the splice is finished, continue to wind the line onto the reel.
Bimini Twist:
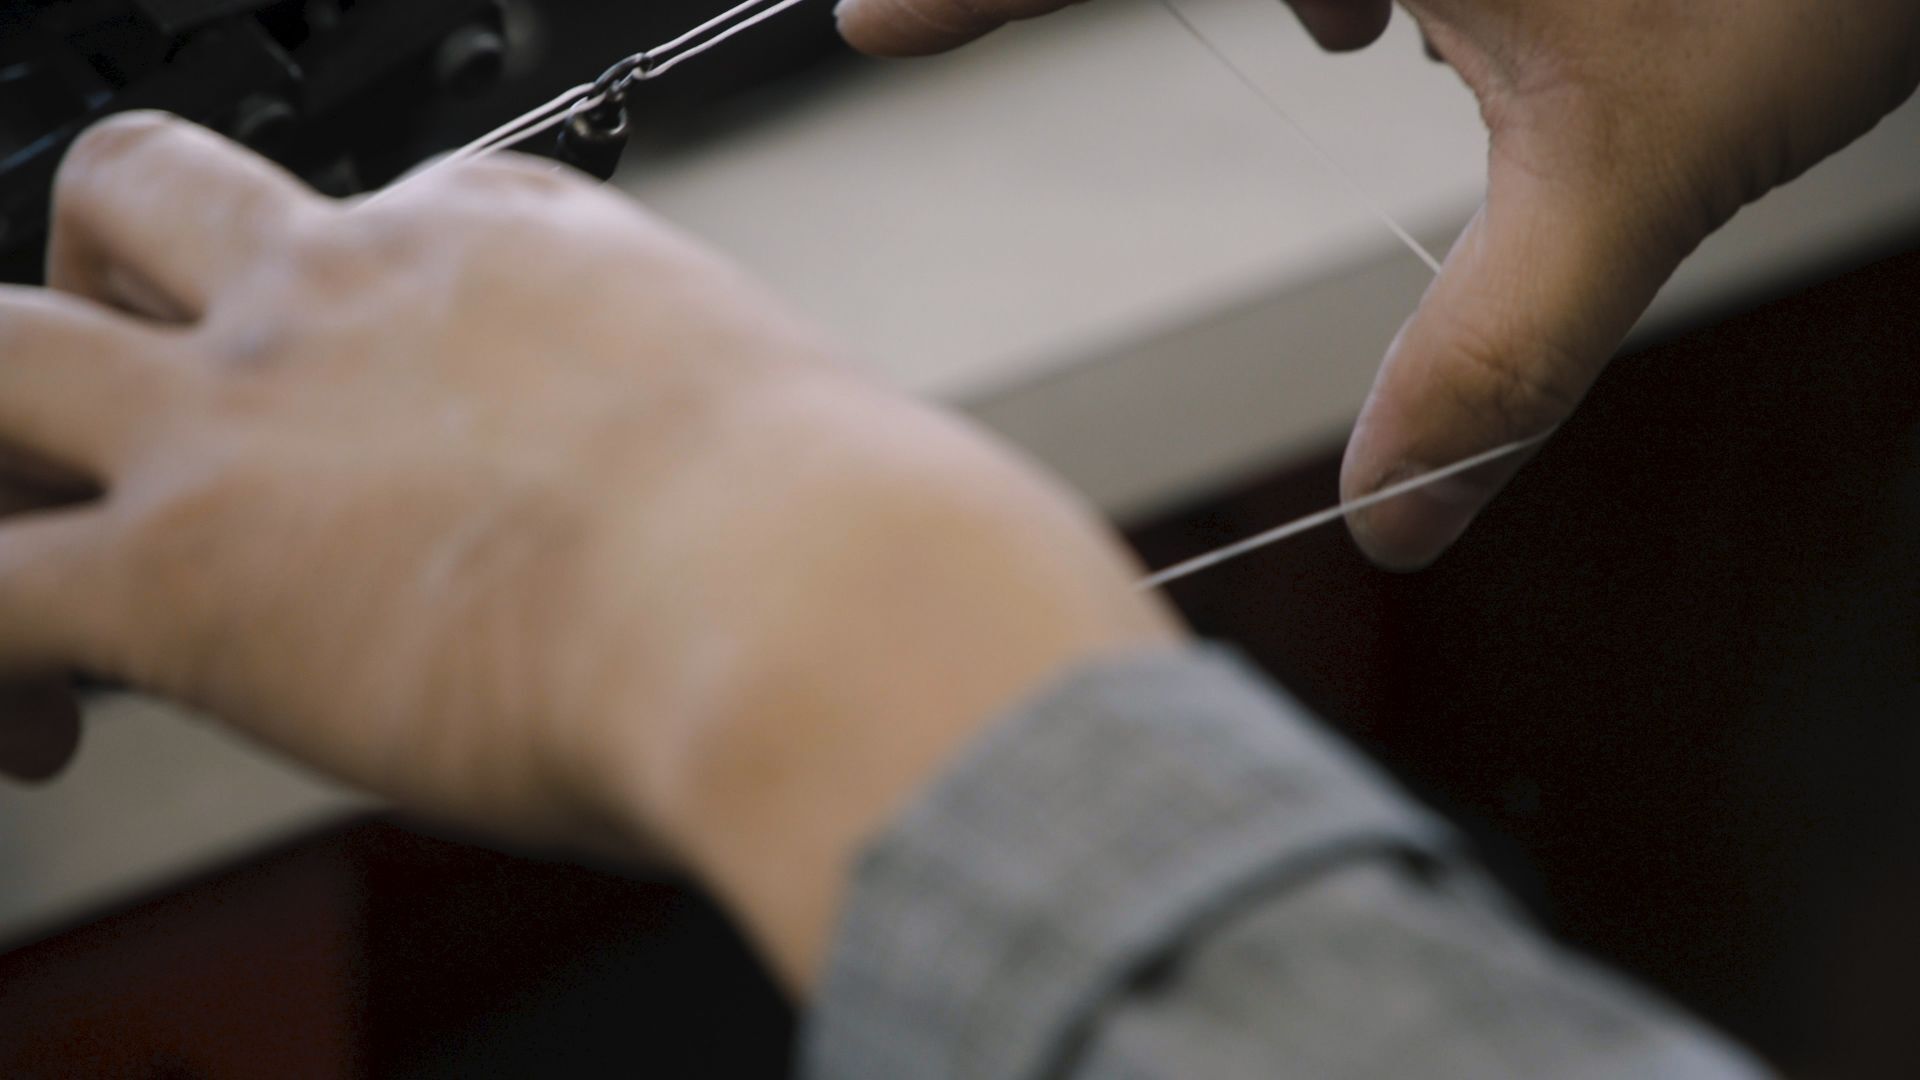
There are two ways to connect the snap swivel to the line. The first is the classic Bimini Twist. Start off with approximately 4 feet of double line, then separate the two strands making a loop and twist about 30 times. As you are twisting, slide back so you don’t bunch up the twists. Next, anchor the loop and grip on the main line, then bite down on the tag end, compress those twists, and you will see the tag start to wind up. Once you have reached the point where the tag cannot wind anymore, separate the two lines, do a half hitch on one and a half hitch on the other.
Next, make a half hitch OVER both of the lines, another half hitch going UNDER both of the lines, another half hitch OVER both of the lines, another half hitch going UNDER both of the lines, then the last half hitch will go OVER both of the lines, locking it in place by doing a locking hitch. Separate the two lines, go over and twist about 6 times between the separation. Pull back on the loop so it doesn’t collapse, then let it coil down nice and neat. Pull back on the tag end to cinch down the Bimini Twist. Now trim the excess tag end off.

Hollow Core Loop Splice:
The second type of loop is the Hollow Core Loop Splice. Start with some slack in the line, and make sure there are no twists in the line. Go up the line 2 feet, using the #4 single-strand hardwire to create a fold in the middle and push it through the hollow core going towards the reel, away from the tag end. Feed the wire up the hollow core about 3 feet, then push it through the side naturally.
Open up the wire loop, then grab the line, making a loop, fold back the loop and roll it to where it is smooth then pull it through. Slide the line back out while smoothing it out. Now you will secure the loop. You are left with the 2 foot tag end that you started with, take the wire and feed it from the reel up and pull the line through so it will lock in place. Once you reach the joint, slide the line back a little, and bring the wire loop out. Put the tag end through the wire loop and pull it through. Pull all the slack out and now you will have a seamless Hollow Core Loop Splice.

Attaching a Snap Swivel:
Now that Archie has covered two ways to tie two different loop connections, he will demonstrate how to attach the snap swivel. Archie suggests using the Diamond Fishing 300 pound stainless steel snap swivel, a dual rotating snap swivel, meaning it spins up top and bottom. This swivel is perfect for high speed wahoo trolling because it is free-spinning under tremendous amounts of pressure. To connect the snap swivel, you are going to use an offshore loop, also known as a Cat’s Paw. Feed the snap swivel through the loop and do a few twists. Make sure it is centered, then bunch the lines up.
Labeling Your Reels:
Lastly, Archie explains the importance of labeling your reels to eliminate tangles and achieve an organized spread while high speed wahoo trolling. Get a label maker to mark your reel to know where the outfit will be positioned. Start off with the position of the reel, PR, which means port rear, then the length (225 feet) and then the sinker it will use (48oz sinker). Marking your reels helps the crew and everyone knows exactly where the reel goes in the position. Again, you can find this and other tips by watching the full video above.